
Running affiliate campaigns without proper tracking is like driving at night without headlights: you might arrive at your destination, but you’ll miss a lot along the way.
Postback tracking is the fix. The term sounds technical, but it’s simply a more reliable way to send conversion data server-to-server instead of relying on the user’s browser. This means fewer lost conversions, more accurate stats and better decisions for scaling your campaigns.
In this guide, we’ll explain postback tracking in plain English and show you how to use it in MGID Ads, including our handy postback template feature that makes setup quick and error-free.
Ready? Scroll down to start reading!
Table of contents
Click on any chapter to scroll directly to it.
Chapter 1
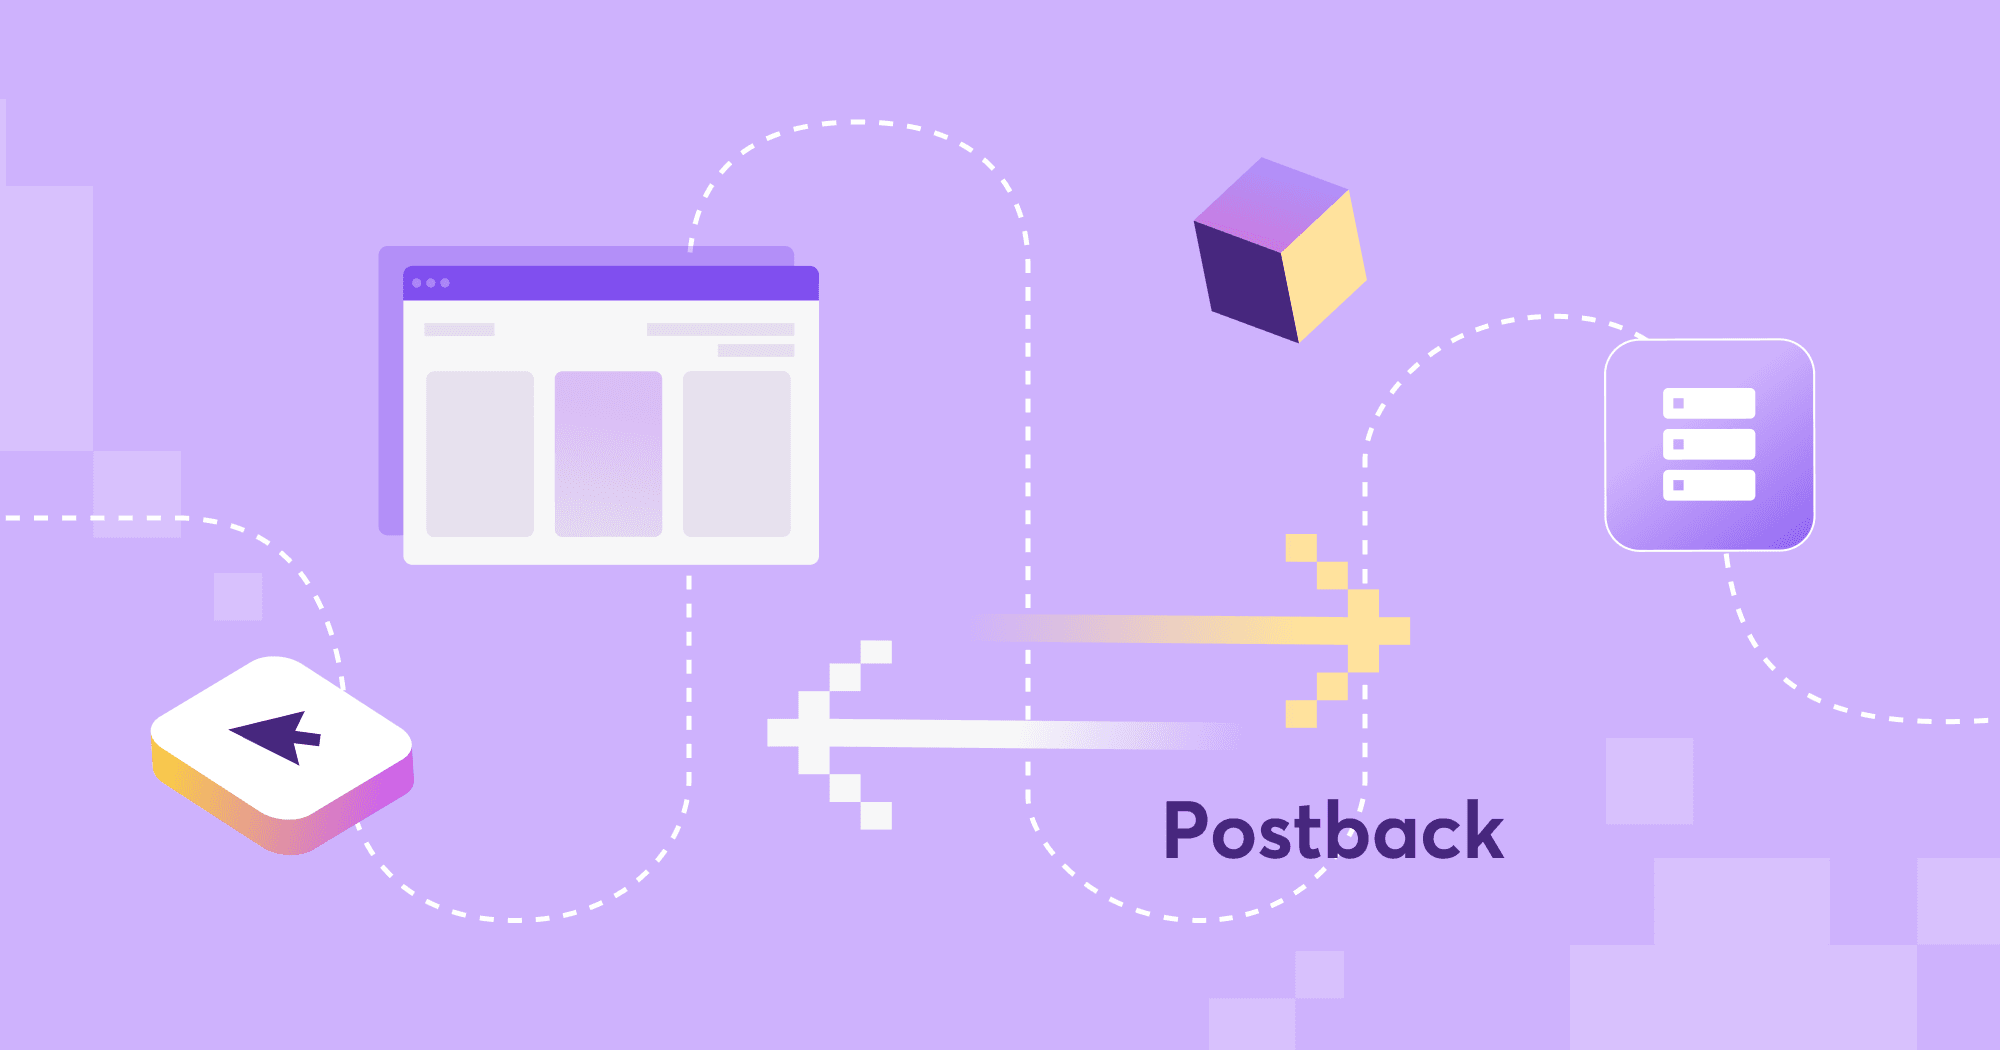
What is a Postback URL?
A postback URL is a link your tracking system uses to “call home” when a desired action occurs, like a click turning into a sale, a signup or any other conversion you care about.
Instead of relying on the user’s browser (like pixel tracking does), postbacks work server-to-server. That means when a conversion happens, the advertiser’s server sends the details directly to your tracking system’s server. No cookies, no browser quirks, no “Oops, the pixel didn’t fire.”
Here’s the difference in simple terms:
- Pixel (client-side) tracking: Works inside the user’s browser. Great when it works… but can be blocked by ad blockers, privacy settings or cookie restrictions.
- Postback (server-side) tracking: Skips the browser and sends data directly between systems. More secure, more consistent and much harder to break.
| Feature | Pixel tracking | Postback tracking |
|---|---|---|
| Works without cookies | ❌ | ✅ |
| Works across devices | ❌ | ✅ |
| Real-time reporting | ⚠️ Sometimes | ✅ Always |
| Vulnerable to ad blockers | ✅ | ❌ |
| Easy to set up without a tracker | ✅ | ⚠️ Requires tracker or integration |
| Best for | Basic campaigns, simple funnels | Privacy-compliant, multi-device, high-value campaigns |
In short, a postback URL is your campaign’s reliable messenger, always delivering the right data, even in tricky tracking conditions.
Chapter 2
How Postback Tracking Works
Let’s break down what happens behind the scenes when you use postback tracking:
- User clicks your ad: They’re sent through a tracking link that includes a unique click ID. Think of it as the campaign’s unique fingerprint for that specific click.
- The user performs an action: They land on the advertiser’s site and eventually complete a conversion, e.g., they make a purchase, sign up for an account or fill out a form.
- Servers talk to each other: Instead of relying on the user’s browser to send that data back, the advertiser’s server pings your tracker’s server with a special postback URL. This URL includes the click ID and any other details like revenue or transaction ID.
- Tracker matches the data: The tracker sees the click ID, matches it to the original ad click and attributes the conversion to the right campaign, traffic source and creative.
- Results appear in your stats: The conversion shows up in your dashboard, often in real time, so you can optimize without waiting or guessing.
Since the process happens server-to-server, postback works even if the user changes devices, blocks cookies or closes the browser before the confirmation page loads.
Chapter 3
Benefits of Using Postback Tracking
Postback tracking gives you one of the most reliable ways to keep your campaign data complete and trustworthy. Here’s why marketers choose it:
- Accurate in a cookieless world: Postbacks don’t depend on browser cookies, so your tracking stays reliable even with ad blockers, privacy modes or cookie restrictions.
- Works across devices and browsers: If a user clicks on an ad on their phone but completes the purchase on their laptop, postback tracking can still connect the dots.
- Real-time reporting: Because the data goes directly from server to server, you see conversions in your dashboard almost instantly. That means faster optimization and less wasted spend.
- Secure and reliable: There’s no dependency on scripts or user-side actions that can break. Postback data is harder to fake, which also helps reduce fraud.
In short: postback tracking is faster, cleaner and far more dependable than its traditional counterpart, and with MGID’s setup options, you can get it running in just a few clicks.
Chapter 4
When You Should Use Postback Tracking
While postback tracking can benefit almost any campaign, it’s especially valuable in situations where precision and reliability are critical.
- Multi-device user journeys – When users click your ad on one device and convert on another (e.g., phone → laptop)
- High-value or high-volume conversions – Where every missed conversion means significant lost revenue
- Privacy-regulated markets – In regions where GDPR, CCPA or other privacy laws limit cookie use
- Ad-blocker-heavy audiences – When bypass browser-based tracking issues is required
- Advertisers using S2S-friendly platforms – If your partner already supports server-to-server data exchange
If any of these situations apply to your campaigns, postback tracking isn’t just a nice-to-have option — it’s your best option for accurate, future-proof performance data.
Chapter 5
Postback URL Structure Explained
A postback URL might look like a jumble of letters, numbers and symbols, but every part of it serves a purpose. Here’s the basic anatomy:
https://a.mgid.com/postback/123456?c={click_id}&e=purchase&r={revenue}
Breaking it down:
- Base URL – https://a.mgid.com/postback/123456
The endpoint where conversion data is sent. The number here is your unique MGID client ID.
- c (Click ID) – c={click_id}
The unique identifier passed when the ad was clicked. This is what links a conversion back to the exact click that caused it.
- e (Event Name) – e=purchase
This is the type of conversion tracked— for example, purchase, signup and lead.
- r (Revenue) – r={revenue}
The payout or revenue value tied to the conversion. This is optional, but rather essential if you want ROI reporting.
Tokens and macros:
- {click_id}, {revenue} and other tokens are placeholders that your tracking system replaces with real data when sending the postback.
- Each third-party tool has its own token format, which is why MGID offers postback templates automatically filling these in for you.
Simply put, the postback URL is just a structured message: “Here’s the click, here’s what happened, here’s the value.”
Chapter 6
Setting Up a Postback
While postback tracking may sound technical, the setup for it is straightforward once you know the steps. In MGID Ads, you can do it in two ways: manually or using a template.
1. Manual Setup
- Create or edit a campaign in your MGID Ads dashboard.
- Go to Conversion Tracking and choose Postback.
- Add a conversion goal name (this becomes the e parameter in the URL).
- Click Get Postback URL — MGID will generate your link with placeholders for click ID and revenue.
- Add the parameter your tracker uses for {click_id} (for example, sub_id={click_id}) under Tracking Tags.
- Paste the MGID postback URL into your tracker or platform, replacing tokens with the real macros your system uses.
This method gives you full control, but you’ll need to know the exact parameters and macros for your tracker.
2. Template Setup (Fast & Error-Free)
If your tracker is on MGID’s supported list, which includes Voluum, RedTrack, Binom and BeMob, setup is even quicker:
- In the same Postback section, select Template and choose your platform.
- MGID auto-fills conversion goals, click ID parameters and revenue macros for that tracker.
- You can still edit goal names or remove unnecessary steps if needed.
- Click Get Postback URL and paste it into your tracker — no extra edits required.
Templates save time, reduce manual errors and ensure your data matches perfectly between systems.
Tip: Always run a test conversion to make sure the postback fires correctly before launching your campaign.
Chapter 7
Common Issues and Troubleshooting
Even with a clean setup, postbacks can fail if one small detail is off. Here are the most common problems and how to fix them.
1. Missing or Wrong Click ID
If the click ID parameter isn’t passed correctly from MGID to your tracker, the system won’t know which click generated the conversion.
Fix: Double-check the Tracking Tags in MGID and make sure the parameter matches your tracker’s macro (e.g., sub_id={click_id}).
2. Incorrect Tokens or Macros
If {click_id} or {revenue} placeholders aren’t replaced with real values by your tracker, MGID will receive empty data.
Fix: Verify your tracker’s macro format and update the postback URL accordingly.
3. Postback Not Firing
This can happen if the advertiser’s platform has restrictions, like allowing postbacks only from whitelisted domains.
Fix: Check with the advertiser or platform’s support team to confirm postback permissions.
4. Revenue Doesn’t Match
If you see revenue in your tracker but not in MGID, the {revenue} macro might be missing or incorrectly formatted.
Fix: Verify your tracker sends the revenue value in the correct parameter and currency.
5. Hard to Debug
Sometimes it’s unclear where the postback chain breaks.
Fix: Use your tracker’s test or debug mode to see if the postback is being sent and if MGID is receiving it. You can also check MGID’s conversion logs to confirm.
A quick test after setup usually catches 90% of these issues, so don’t skip it before going live.
Chapter 8
Postback Tracking with MGID
MGID’s postback tracking works with virtually any third-party tracker or platform that supports server-to-server (S2S) communication. The setup is flexible, so you can integrate it into your workflow whether you use a popular tracker or a custom solution.
How It Works with Trackers
- MGID generates a tracking link for your campaign that includes the click ID parameter.
- Your tracker captures the click ID when a user clicks your ad and redirects them to the advertiser’s landing page.
- When a conversion happens, the advertiser’s system sends the data (including the click ID) back to your tracker.
- Your tracker sends a postback to MGID using the MGID postback URL, passing along the click ID and, optionally, the revenue.
- MGID attributes the conversion to the right click and updates your stats in real time.
Why the Template Feature Helps
If your tracker is on MGID’s supported list, setup is nearly instantaneous.
- All parameters and macros are pre-filled.
- Conversion goals are named automatically (but you can rename or remove them).
- You avoid common manual mistakes like typos or missing parameters.
Example: Voluum Integration
- Select Voluum from the postback template list in MGID Ads.
- MGID fills in the click ID and revenue macros automatically.
- Click Get Postback URL, copy it and paste it directly into Voluum.
- Run a quick test conversion, and you’re ready to go.
Flexibility for Custom Needs
If your platform isn’t listed, you can still set up postback tracking manually in MGID. And if you’d like a template for your tool, MGID can add it on request — no external approvals needed.
With either method, you get the benefits of real-time, accurate and cookieless tracking that works seamlessly with native ad campaigns.
Chapter 9
Best Practices for Postback Optimization
Once your postback tracking is live, a few smart habits can make sure you’re getting the cleanest, most useful data possible and using it to its full potential.
1. Keep Parameter Names Consistent
If you’re running campaigns across multiple trackers or networks, use the same naming convention for your parameters. It’s easier to manage, troubleshoot and read your reports later.
2. Always Test Before Going Live
Run a test conversion after setup. This confirms that the click ID is being passed correctly, the postback fires and the revenue (if used) is recorded.
3. Track More Than Just Purchases
If your funnel has multiple valuable actions, like signup, free trial or upsell, create separate conversion goals. This helps you optimize at each step of the customer journey.
4. Use Postback Data for Automation
Feed your postback data into automated rules in MGID Ads or your tracker. For example:
- Pause placements with a high spend but no conversions;
- Increase bids where ROI is consistently strong.
5. Review and Clean Up Regularly
Over time, remove unused or outdated conversion goals, and double-check that your macros still match your tracker’s latest format.
Postback tracking isn’t a “set it and forget it” feature: the more you maintain and optimize it, the more value you’ll get from your campaigns.
Chapter 10
FAQ
What is a postback in affiliate marketing?
A postback is a server-to-server method of sending conversion data from the advertiser to the affiliate network or tracker, ensuring accurate attribution.
How does postback tracking work?
When a user clicks an affiliate link and converts, the advertiser’s server sends conversion details to the tracker via a secure URL.
Why use postback instead of pixel tracking?
Postback works without cookies, across devices and provides more accurate, secure and real-time tracking data.
What information can a postback send?
Typically click ID, payout amount, transaction ID and offer details, passed via URL parameters and tokens.
Does MGID support postback tracking?
Yes, MGID integrates with leading trackers and allows easy postback setup for precise conversion tracking in native ad campaigns.
Chapter 11
Conclusion
Postback tracking takes the guesswork out of affiliate marketing. By sending conversion data directly from server to server, it gives you accurate, real-time insights that aren’t affected by cookies, browsers or user-side issues.
In MGID Ads, setting up postbacks is simple, whether you do it manually for full control or use our pre-built templates for a quick, error-free setup. With the right configuration, you’ll know exactly which clicks bring results, which campaigns deserve more budget and where to cut your losses.
If you want tracking that’s reliable, future-proof and ready for a privacy-first world, make postback your default method and let MGID’s tools handle the heavy lifting so you can focus on scaling your success.