MGID, the global pioneer in native advertising, became one of the first platforms to adopt the new Google Tag Manager solution – the MGID pixel tag has been added to the Community Template Gallery. This initiative aims to make the tagging and campaign performance tracking processes easier and safer.
Community Template Gallery is an open platform where partners can share their tag templates. Businesses can then customize these templates to easily implement tags on their websites.
Since Google Tag Manager is used by 93% of MGID advertisers, the integration of the MGID pixel tag into Community Template Gallery will enable them to easily set up retargeting and conversion tracking straight from the MGID dashboard, rather than manually inserting the MGID code. What’s more, it will secure transparent cooperation between MGID and its advertisers.
How to set up conversion tracking with "MGID Pixel" Google Tag Manager template
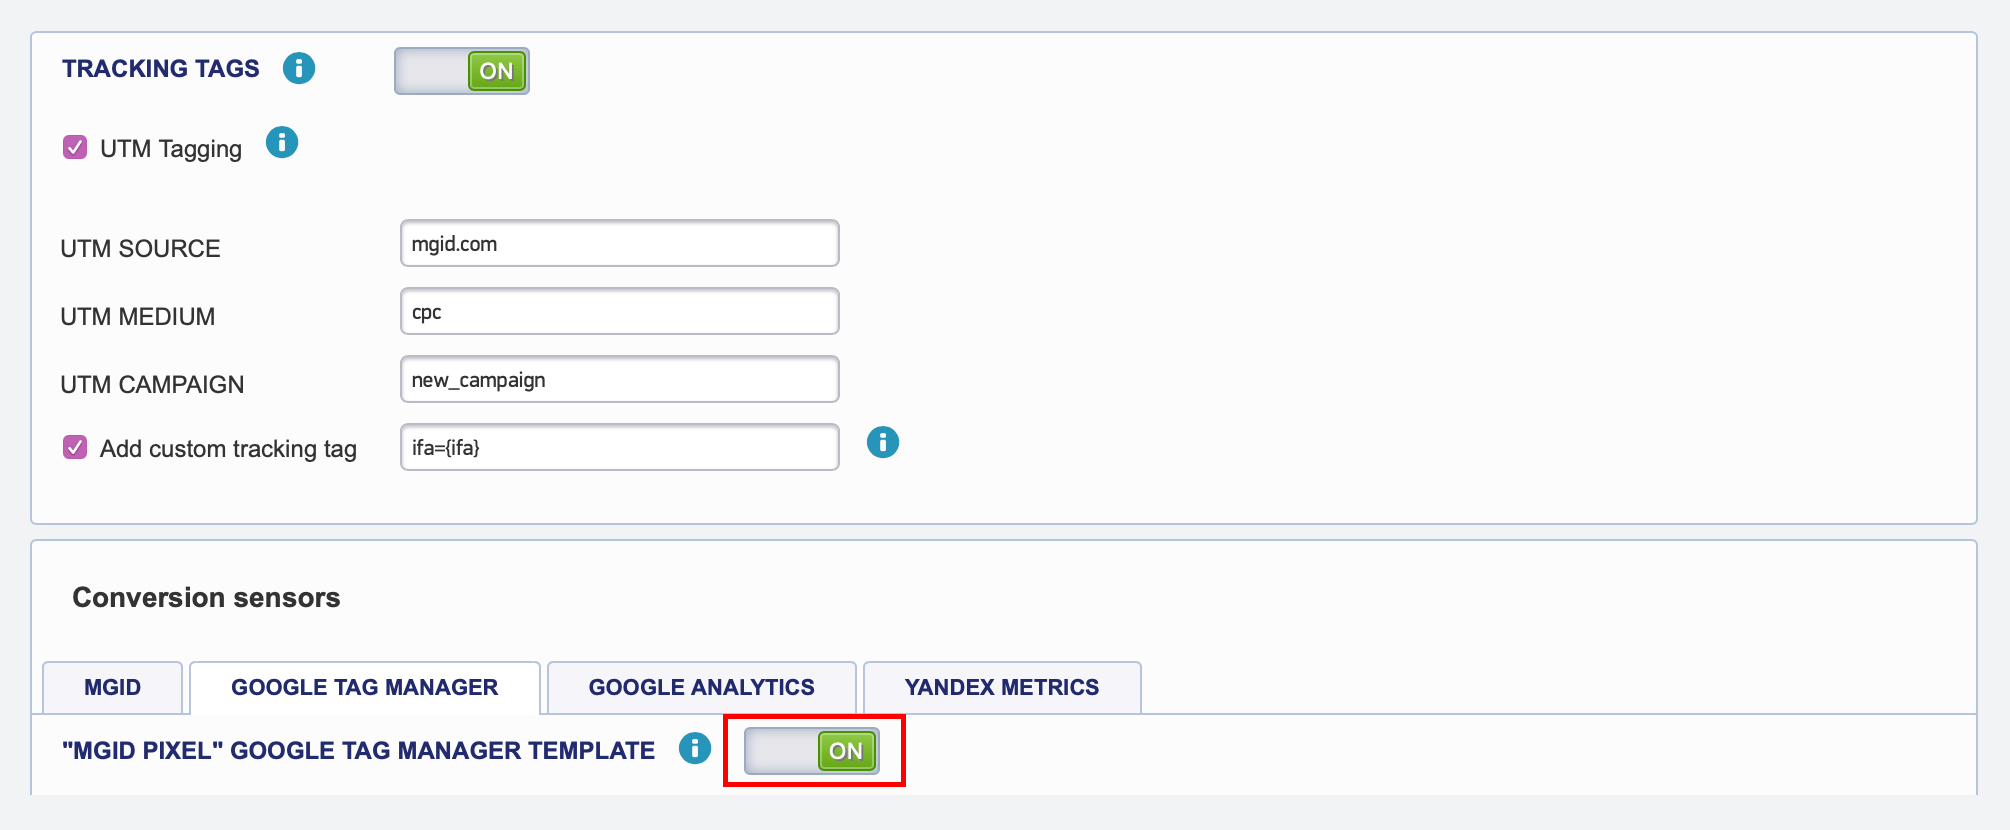
- When creating a new ad campaign (or making changes to the existing one) choose and enable the "Google Tag Manager" option in the Conversion sensors block.
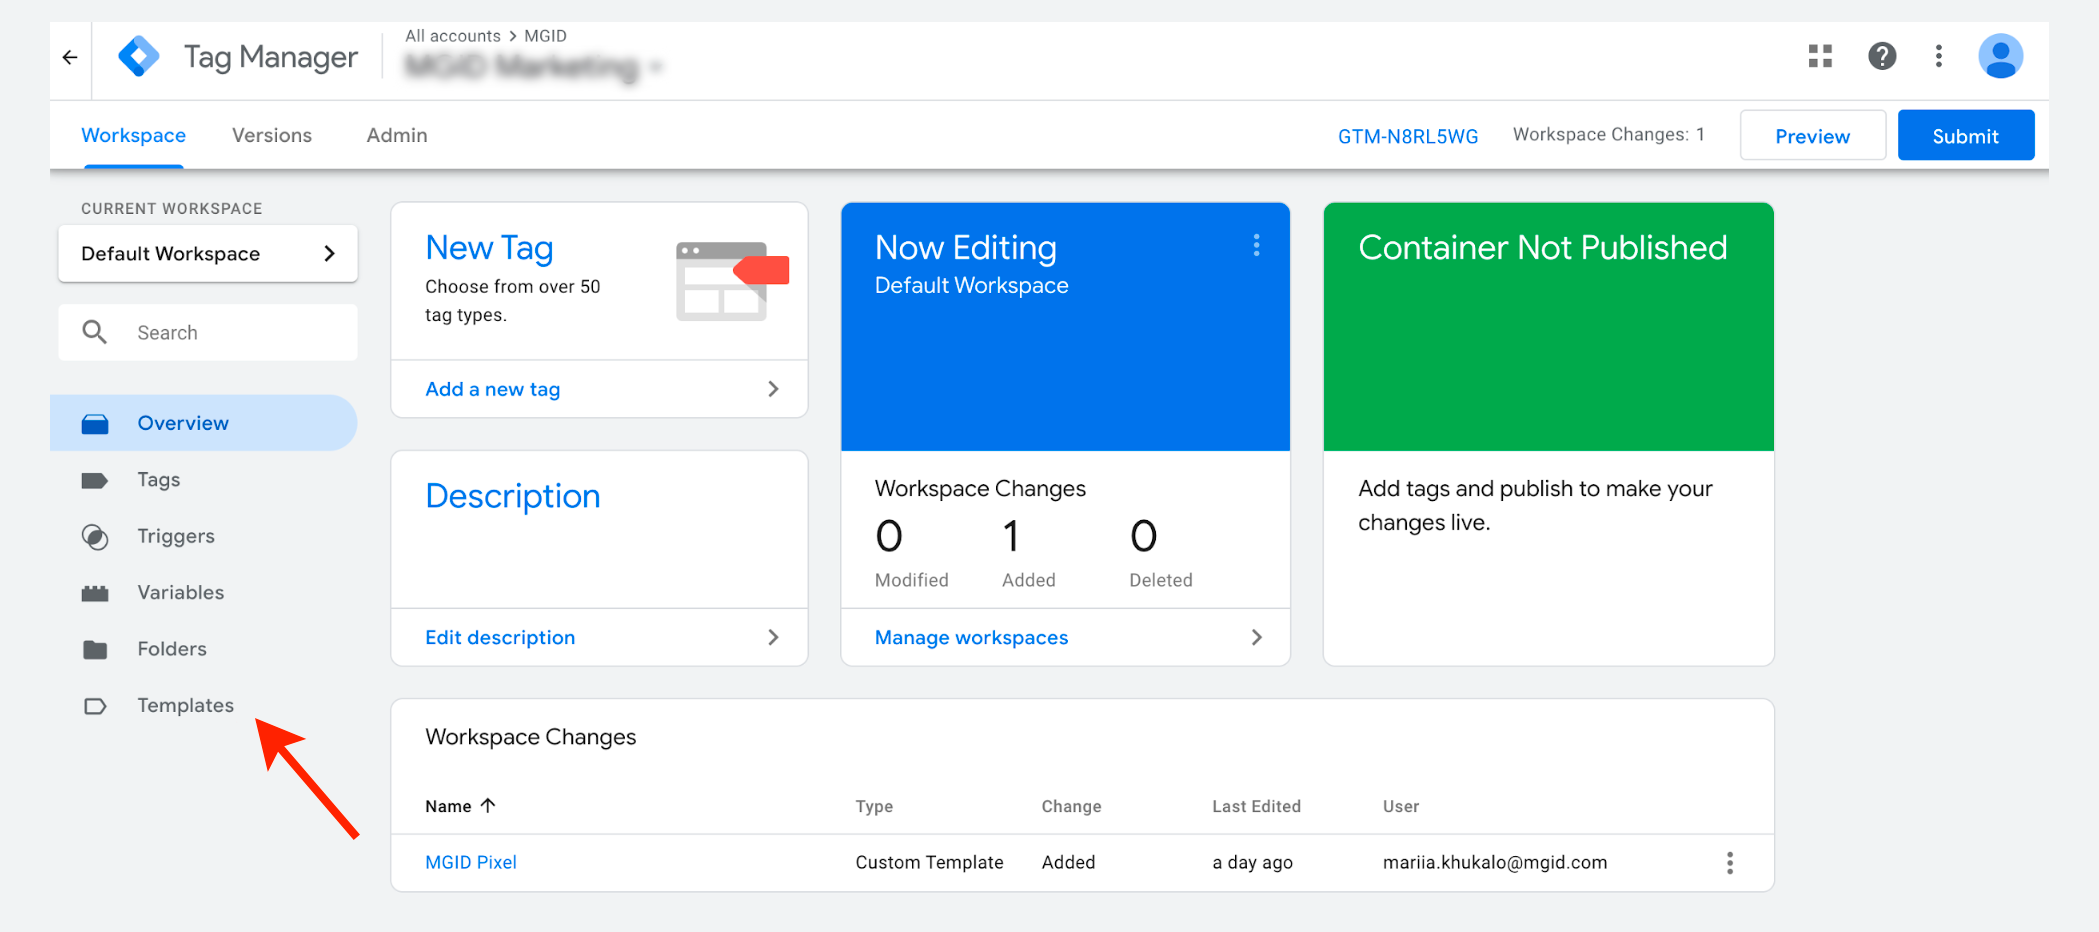
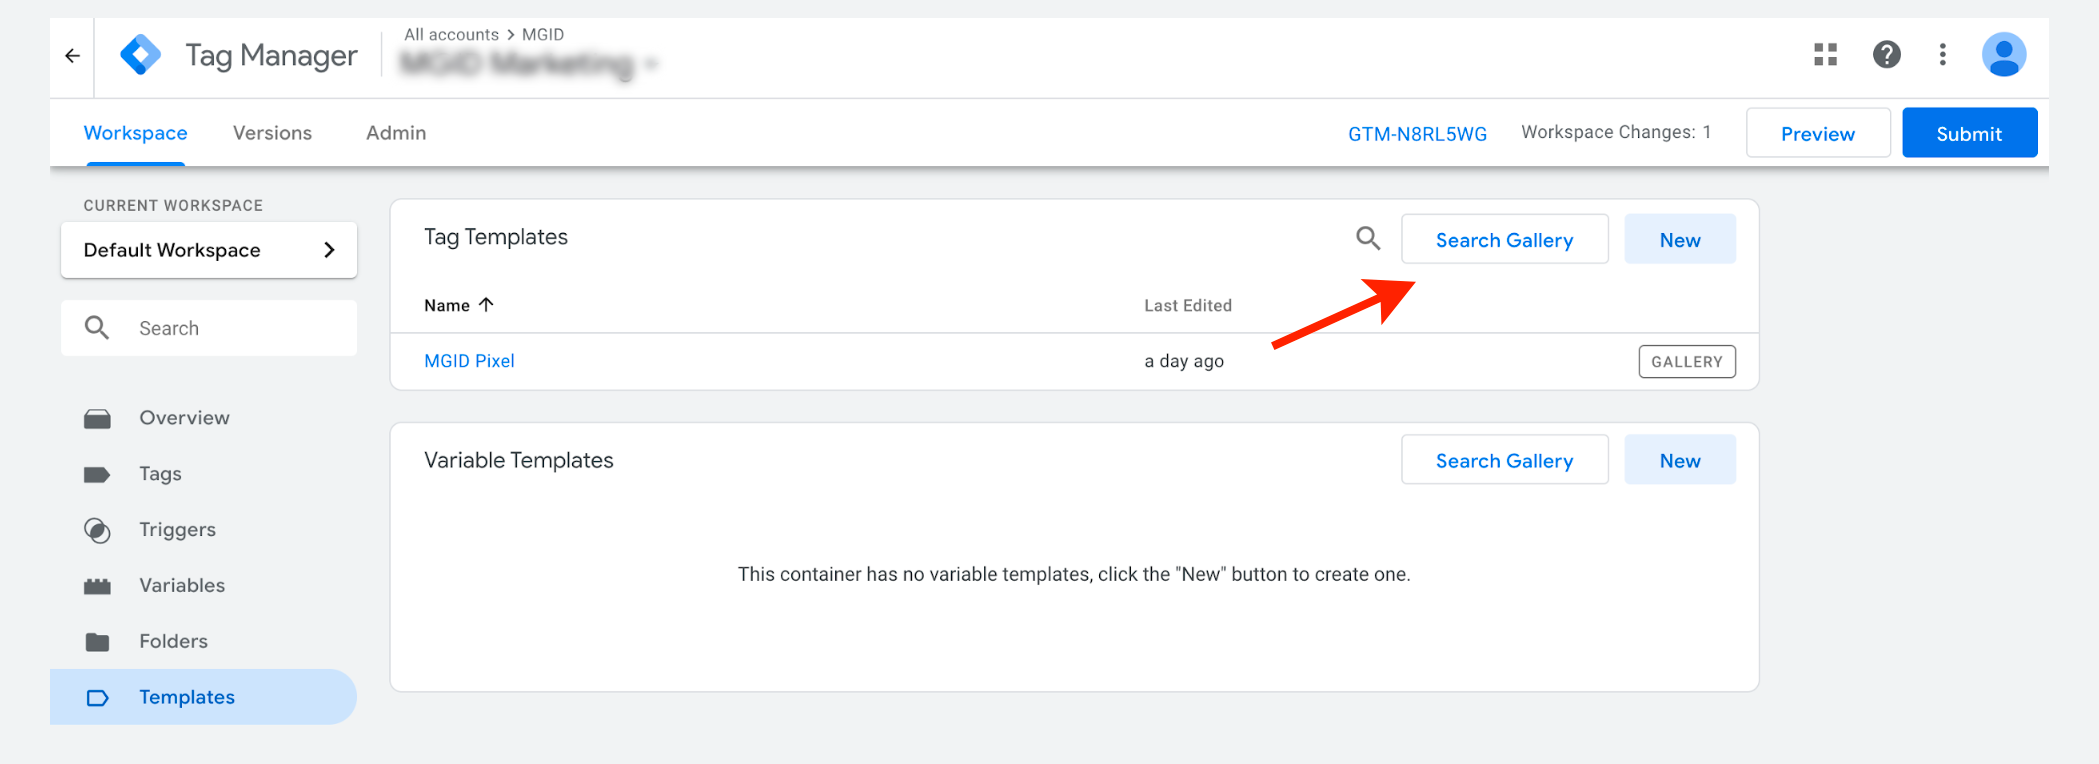
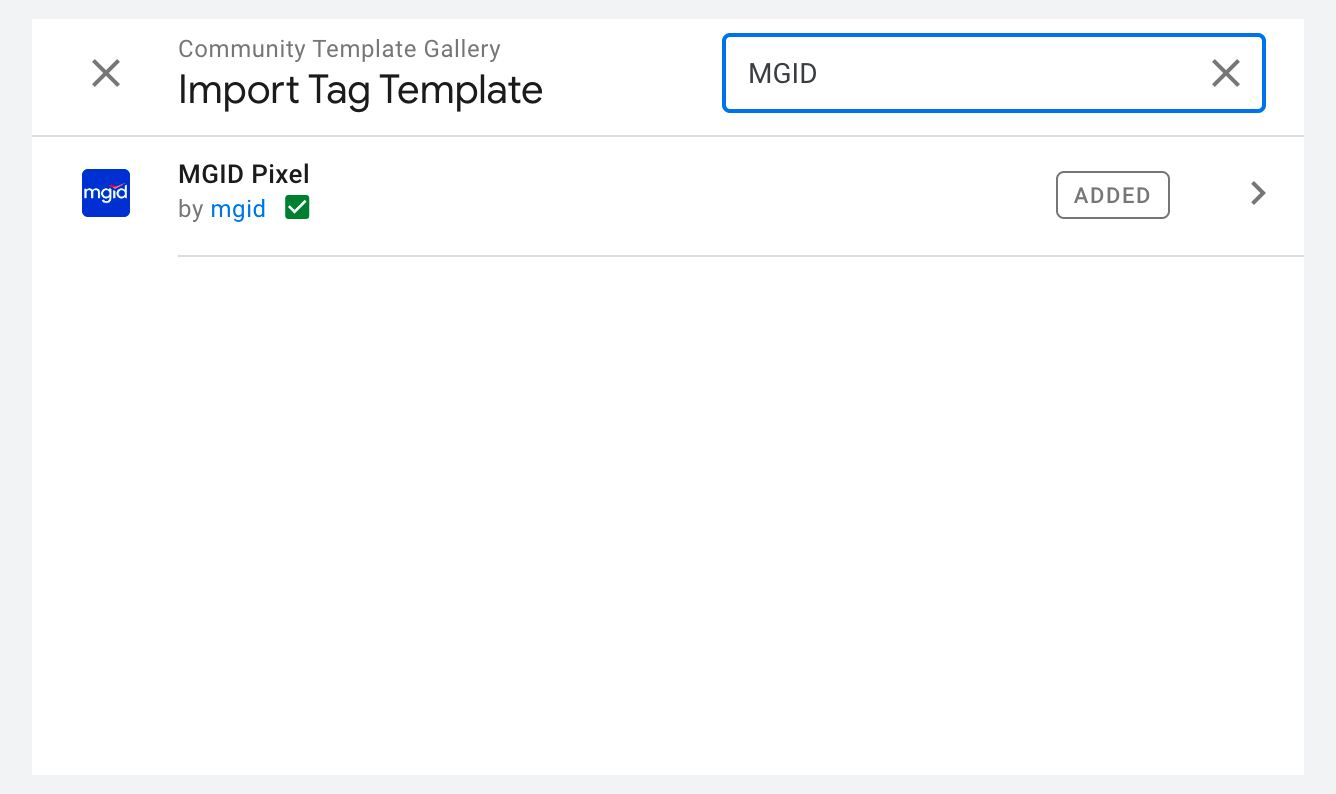
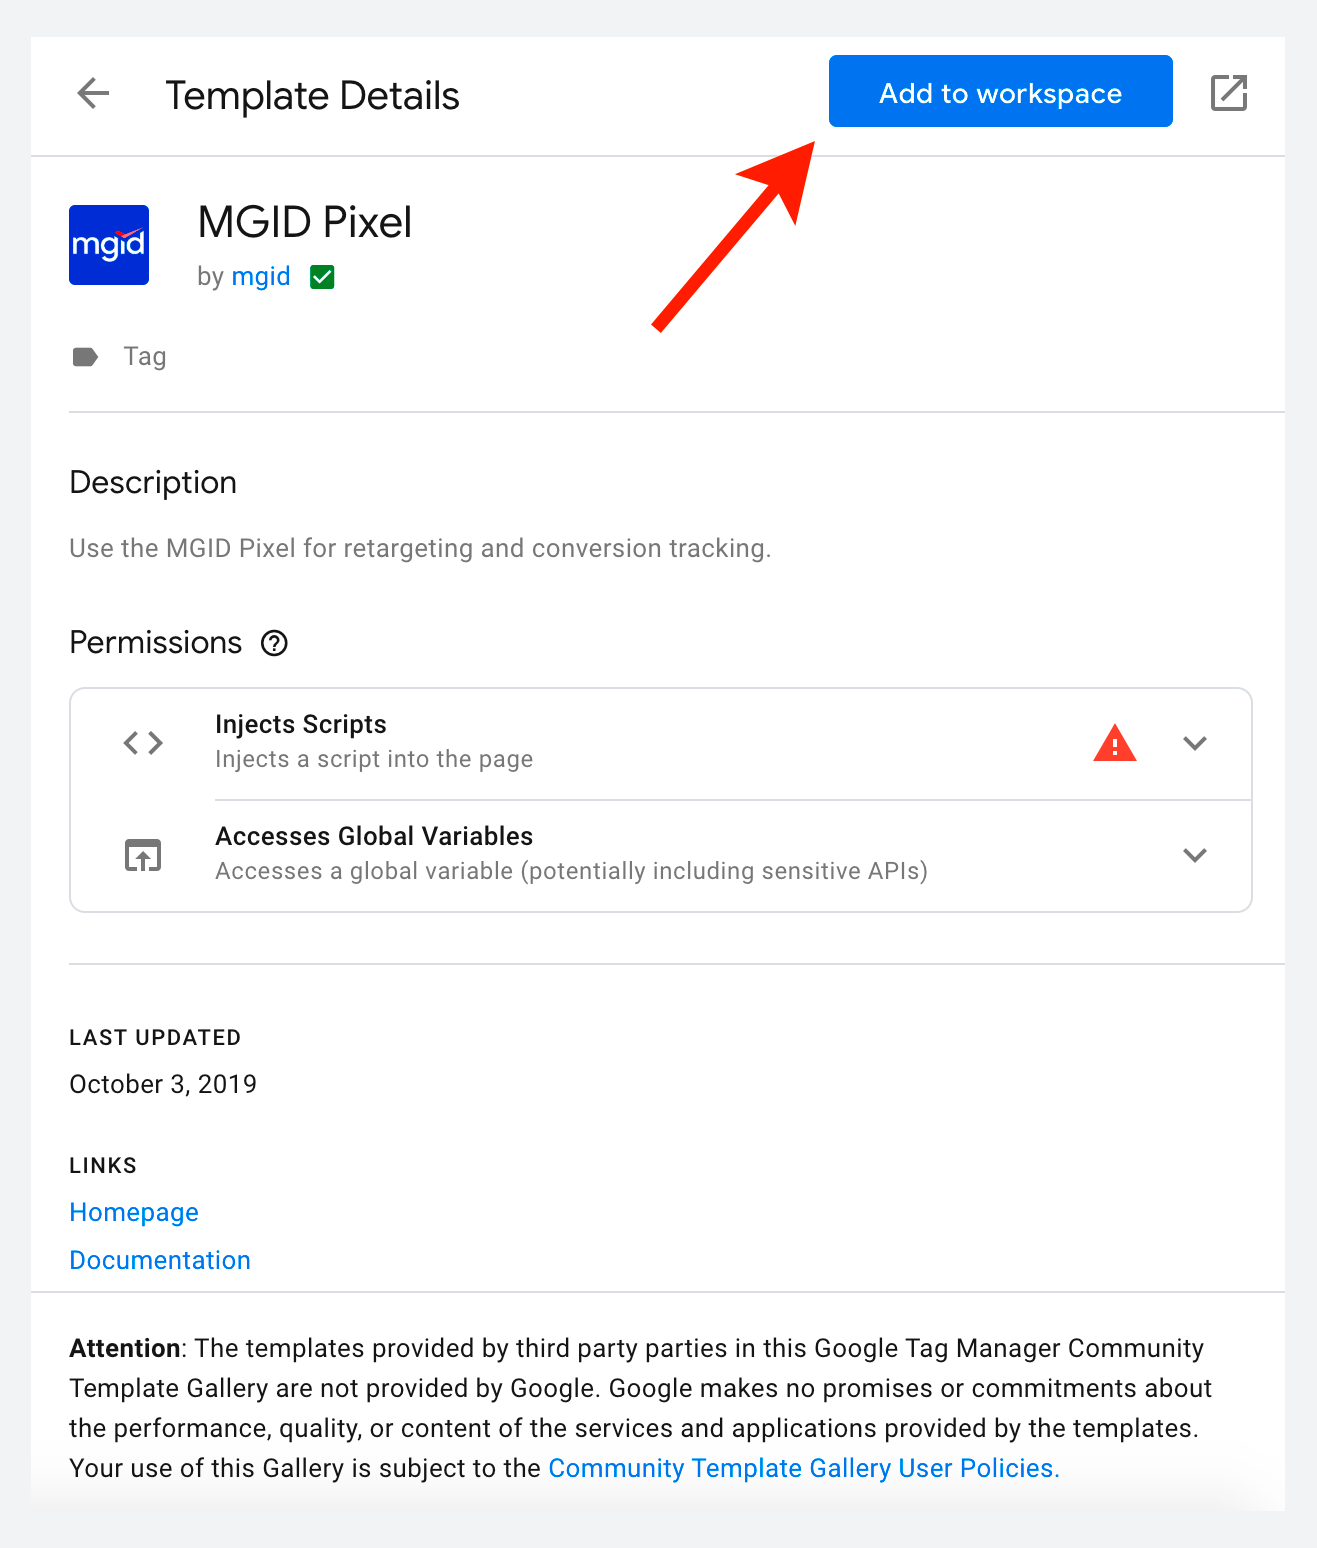
2. Open Google Tag Manager, go to Templates -> Search Gallery and find MGID Pixel tag. Add it to your workspace.
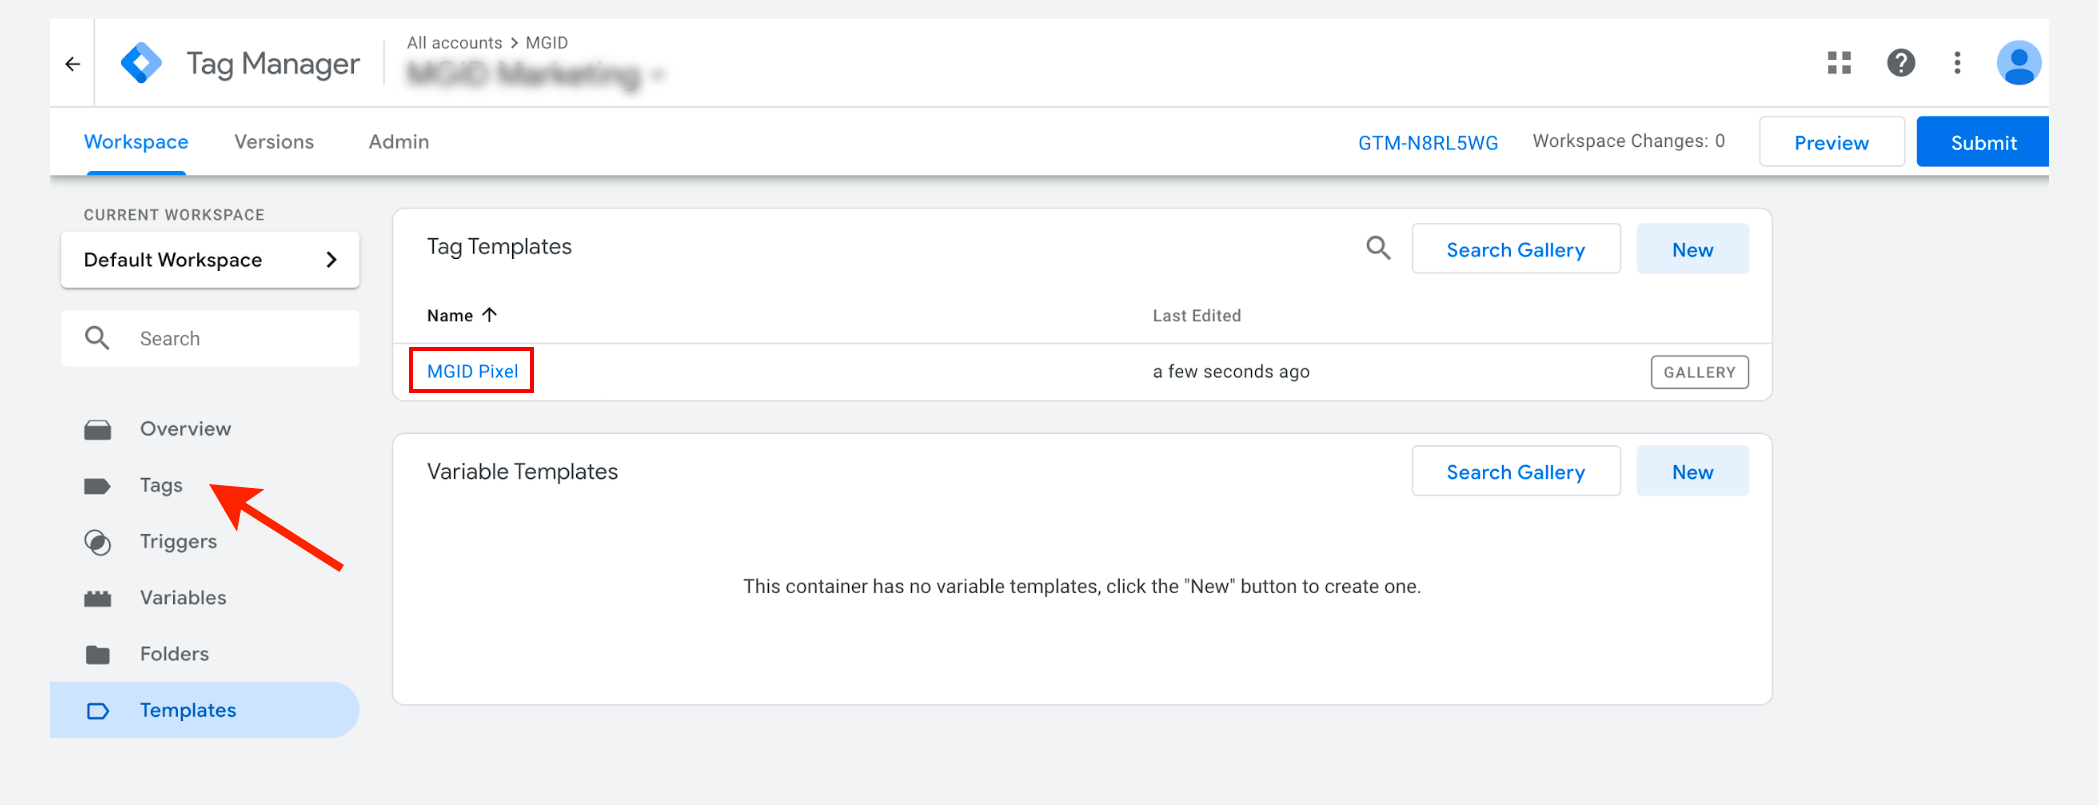
3. Start creating new tag (Tags -> New) by choosing "MGID Pixel" among the tag types in the "Custom" section.
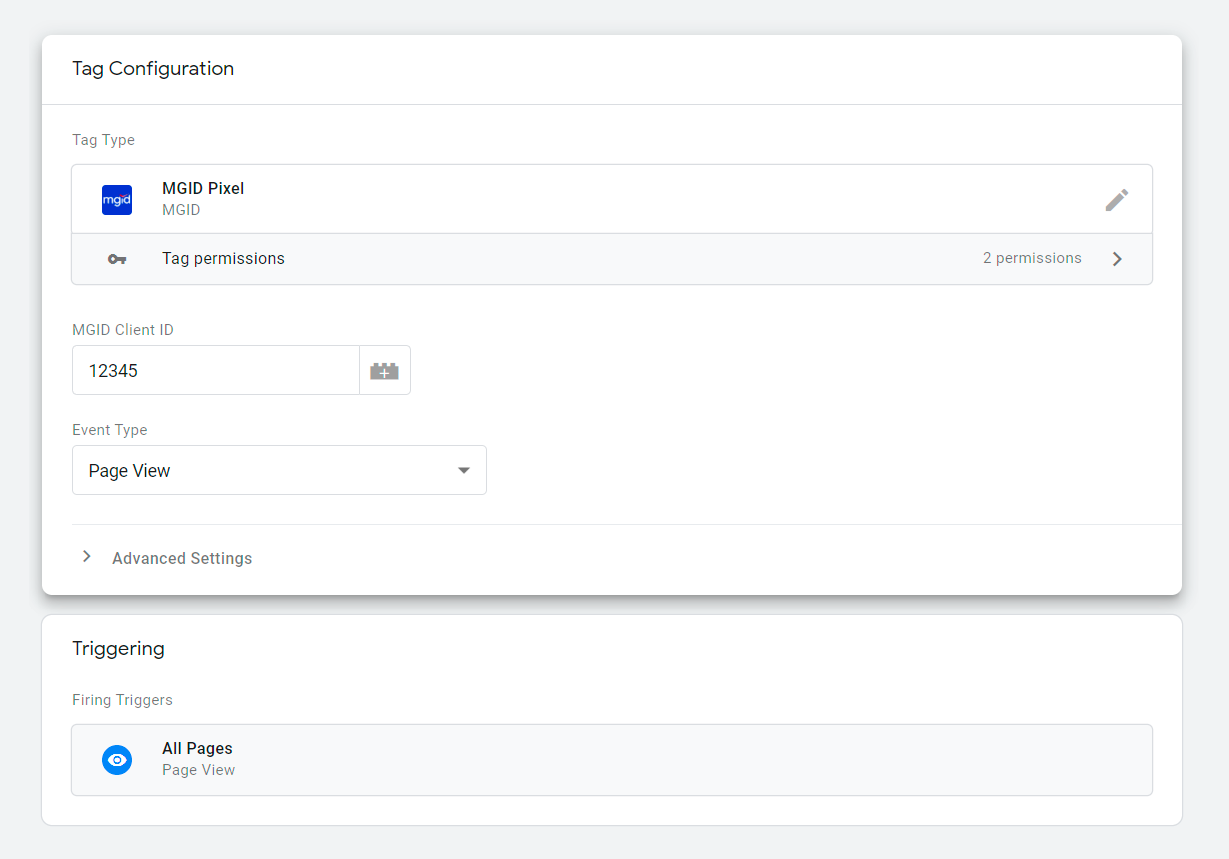
4. In the "Tag Configuration" section, enter your MGID Client ID and then choose the event type "Page View".
5. In the "Triggering" section, select "All Pages". It's important to trigger our sensor on all pages to which visitors from MGID may be directed. Otherwise, partially or completely, the conversions will not be counted.
6. Save this Tag and start creating a new one by choosing "MGID Pixel" among the tag types in the "Custom" section.
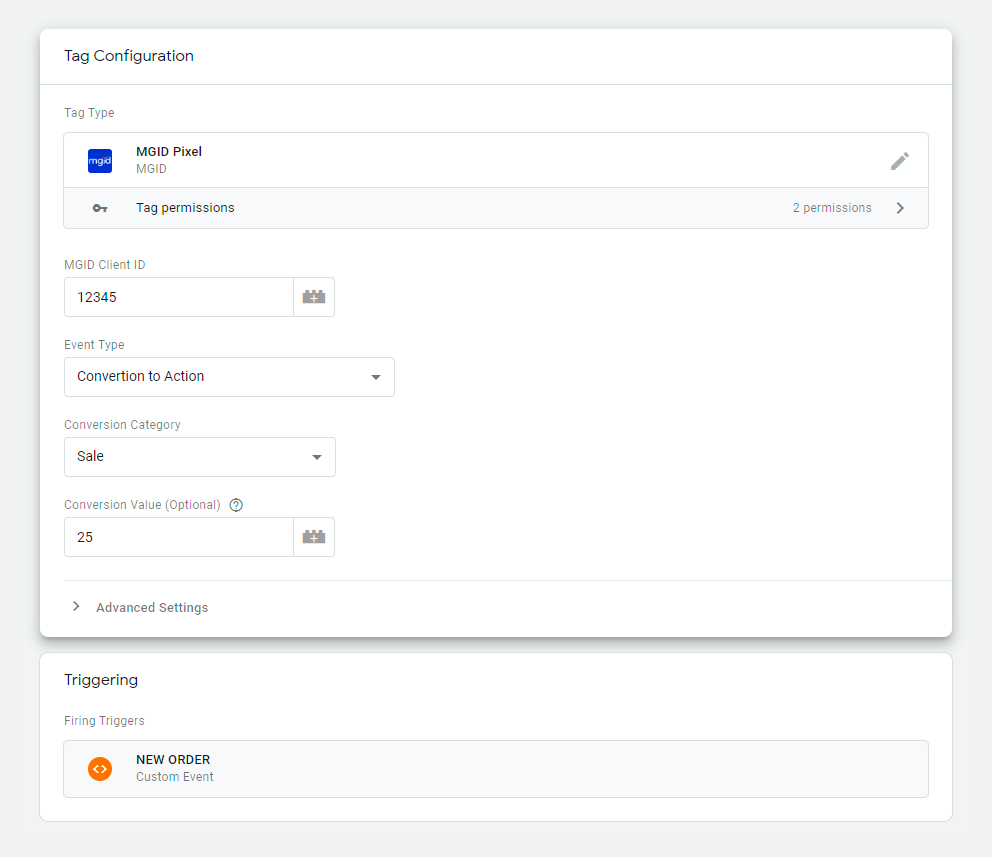
7. In the "Tag Configuration" section, enter your MGID Client ID and then choose event type "Conversion to Action".
8. Specify conversion category (lead, sale, install, etc.) and provide conversion value (your earnings from conversion can be specified as a variable).
9. In the "Triggering" section, select the trigger. This means that the previously specified conversion has occurred and nothing more. E.g: If your "conversion to action" is "new order", then choose the trigger, which means that new order has been created and successfully submitted ("new order", "thank you page", etc.).
10. If you want to track more stages of the conversion funnel, you can repeat steps 3-9, but only select a different event type "Conversion to Desire" or "Conversion to Interest".
The MGID pixel tag reduces the potential for incorrect implementation and provides MGID account managers with the statistics for campaign performance optimization.


